
Introduction to Baked Protein Pancake Bowls
When it comes to breakfast, finding something that’s both nutritious and satisfying can sometimes feel like a chore. Baked Protein Pancake Bowls are here to change the breakfast game! Imagine starting your day with a delicious bowl that combines the classic flavors of pancakes with the added benefit of protein, all baked to perfection. It's the ideal way to fuel your morning, especially for those busy professionals on the go.
These pancake bowls are excellent for meal prep; you can whip up several in advance, making it easy to grab a nutritious meal during your busy week. With no bananas required, this recipe is super versatile so you can customize it as you like. Whether topped with fresh fruit, sugar-free chocolate chips, or a dollop of yogurt, the options are endless. What’s more, you can even add a sprinkle of nuts for an extra crunch!
This recipe not only pleases your taste buds but also provides a fantastic source of protein, helping you feel fuller for longer. So, are you ready to level up your breakfast routine? Let’s dive into how to create these mouthwatering Baked Protein Pancake Bowls that can redefine your mornings!
Ingredients for Baked Protein Pancake Bowls
Essential Ingredients for the Perfect Bowl
To create delicious and satisfying Baked Protein Pancake Bowls, you'll need just a few essential ingredients:
- 1 egg: Acts as a binder and adds protein.
- 50 g yogurt: Choose vanilla or unflavored for creaminess.
- 70 ml milk: Any variety will do; I recommend using soy or almond.
- 35 g all-purpose flour: This gives the pancake structure.
- 25 g protein powder: Vanilla or white chocolate flavors work great; if using whey, slightly reduce the liquid.
- 5 g sweetener: A zero-calorie granulated version or your preferred sweetener.
- ½ teaspoon baking powder: For that perfect fluffy texture.
These ingredients blend seamlessly to create a wholesome breakfast option, perfect for your busy mornings.
Optional Add-Ins for Extra Flavor and Nutrition
Want to kick your Baked Protein Pancake Bowls up a notch? Consider these optional add-ins:
- Fresh fruit: Berries or sliced apples for natural sweetness and fiber.
- Sugar-free chocolate chips: For a touch of indulgence without the guilt.
- Shredded carrots: For added nutrition; they can give a nice texture too.
- Nuts or seeds: For a satisfying crunch and healthy fats.
Feel free to experiment! These add-ins not only boost flavor but also enhance nutritional value. Plus, when you're meal prepping, it’s fun to switch things up each week! For more creative ideas, check out Food Network's pancake variations.
Step-by-Step Preparation of Baked Protein Pancake Bowls
When it comes to healthy breakfast options, Baked Protein Pancake Bowls have become a favorite for many—and it's easy to see why! Not only are they quick to prepare and customizable, but they also serve as an excellent meal prep solution. Let’s walk through how to get your pancake bowls ready for a delightful start to your day.
Gather Your Ingredients
The foundation of any recipe is its ingredients. For our delightful Baked Protein Pancake Bowls, here’s what you’ll need:
- 1 egg
- 50 g yogurt (vanilla or unflavored)
- 70 ml milk (soy or almond work well, but feel free to use your favorite)
- 35 g all-purpose flour
- 25 g protein powder (vanilla or white chocolate is ideal; if using whey, reduce the liquid slightly)
- 5 g zero-calorie granulated sweetener (or 1 teaspoon of your preferred sweetener)
- ½ teaspoon baking powder
Make sure you check your pantry before you start—there’s nothing worse than getting halfway through and realizing you’re missing something!
Preheat the Oven
While you're gathering your ingredients, go ahead and preheat your oven to 180°C (356°F). This step is crucial because a well-preheated oven ensures that your pancake bowls rise beautifully and achieve that perfect fluffy texture.
Mix the Baseline Ingredients
Next, take your oven-safe glass bowl—this is where the magic happens! Add each ingredient one at a time, starting with the egg, followed by yogurt, milk, flour, protein powder, sweetener, and baking powder. Give everything a good mix until it’s well-blended. If you’re prepping multiple bowls, remember to portion out each ingredient evenly among the bowls for consistency in calories and volume.
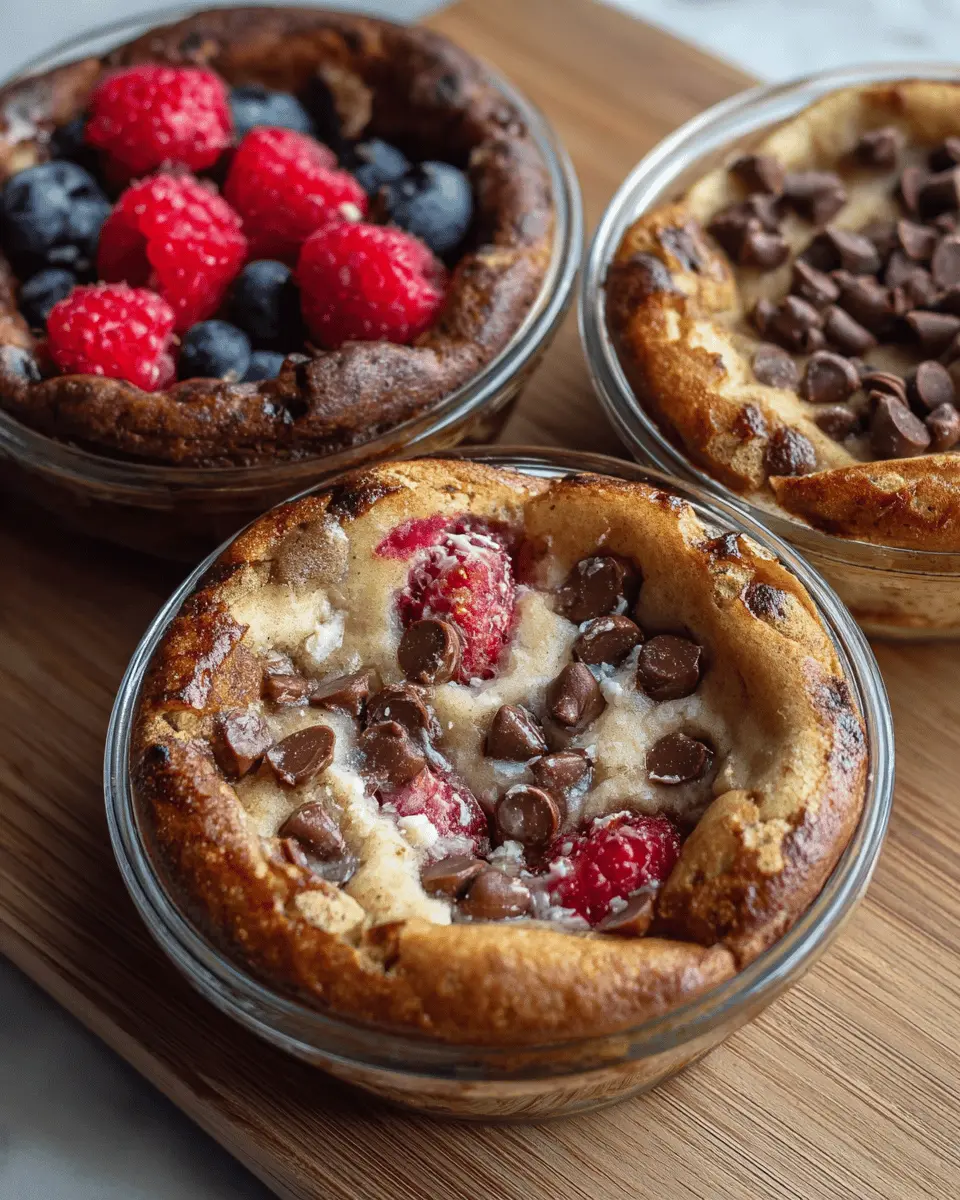
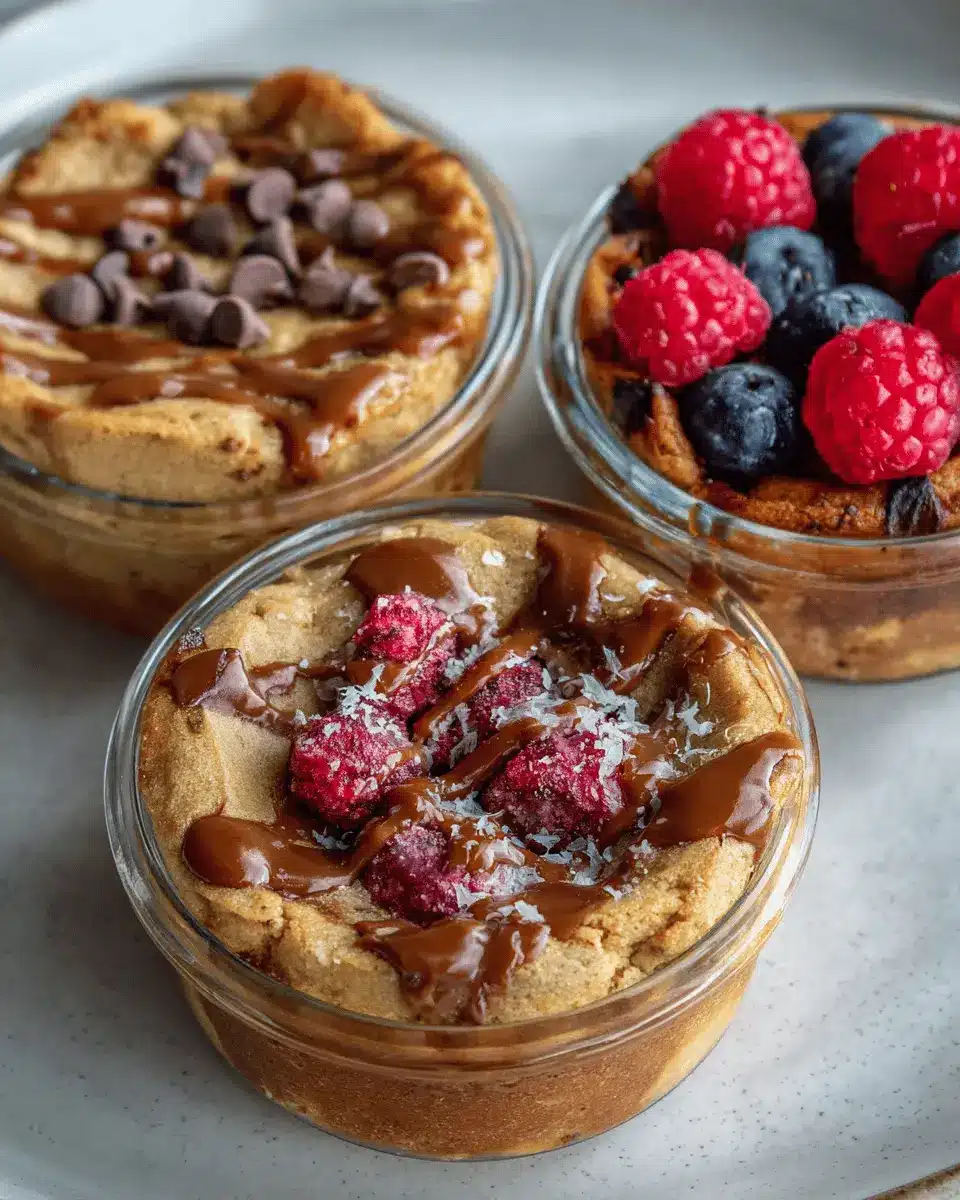
Customize with Toppings
Now for the fun part—customizing your Baked Protein Pancake Bowls! You can add a variety of toppings to suit your taste:
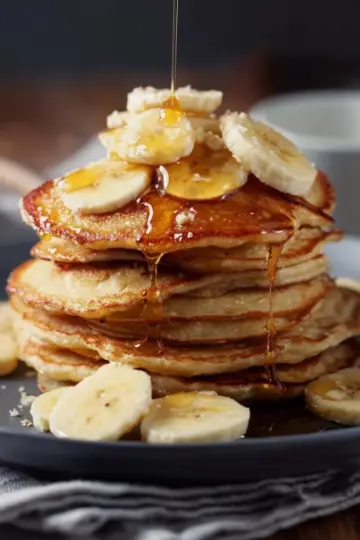
- Fresh fruits like berries or bananas
- Sugar-free chocolate chips
- Shredded carrots for a veggie twist
- Nuts or seeds for extra crunch
Feel free to get creative! The possibilities are boundless, and it’s a great way to use up leftover ingredients.
Bake to Perfection
Once your pancake mixture is ready and topped to your heart’s content, it’s time to bake! Place your bowl(s) in the preheated oven and let them bake for about 20-22 minutes. You’ll know they’re ready when they’re puffed and golden brown on top.
Let Cool Before Serving
Finally, patience is key! Remove the bowl from the oven and let it cool for 5-10 minutes. This helps set the texture. Serve your Baked Protein Pancake Bowls with additional yogurt, a drizzle of maple syrup, or a scoop of peanut butter for a true breakfast treat.
With these steps, you're just moments away from enjoying a nutritious and delicious breakfast that will keep you fueled throughout your busy day! For other healthy breakfast ideas, check out some of the fantastic recipes on sites like EatingWell or Healthline. Happy cooking!
Variations on Baked Protein Pancake Bowls
Looking to spice up your Baked Protein Pancake Bowls? Here are two delightful variations to keep your mornings exciting!
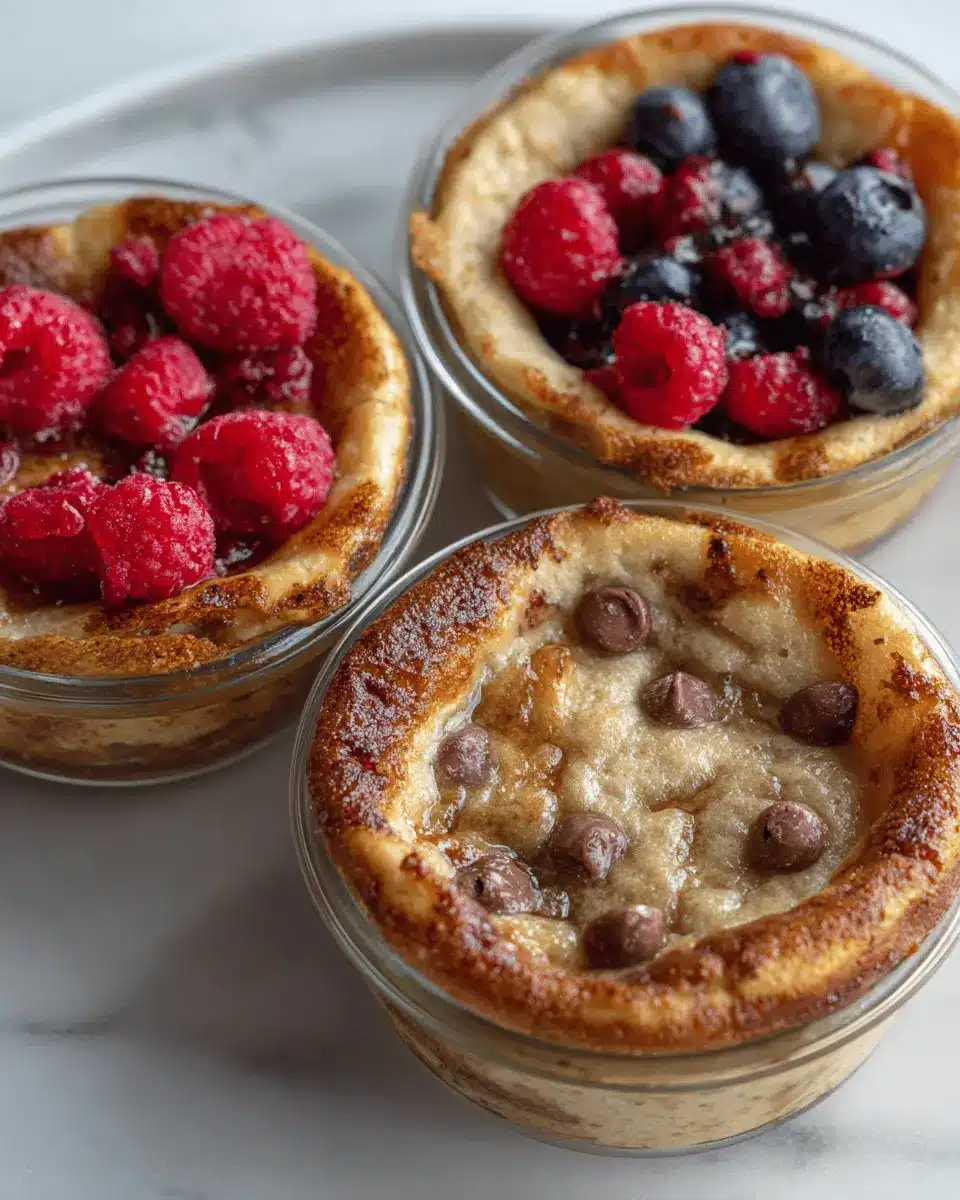
Chocolate Chip Protein Pancake Bowl
Craving something sweet? Add 30 grams of sugar-free chocolate chips to your bowl before baking. Not only do they melt perfectly, but they also give you that comforting flavor reminiscent of your favorite chocolate treats. Pair with a dollop of Greek yogurt for a creamy finish.
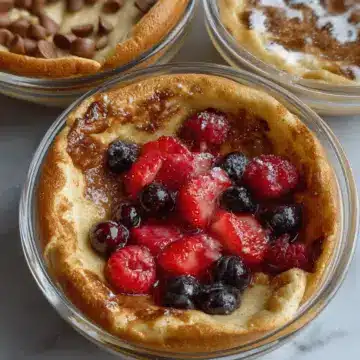
Berry Blast Protein Pancake Bowl
For a refreshing twist, toss in a mix of fresh berries—like blueberries, raspberries, and strawberries—before baking. The juices from the fruit seep into the pancake, creating a burst of flavor with every bite. Top with a sprinkle of flaxseed for added nutrition and crunch.
Remember, these variations are a great way to keep your breakfast both healthy and fun. Want more ideas on healthy breakfast options? Check out Healthline's guide on balanced breakfast ideas.
Cooking Tips and Notes for Baked Protein Pancake Bowls
Ensuring Even Cooking
To guarantee your Baked Protein Pancake Bowls cook evenly, preheat your oven thoroughly before popping them in. If you're making multiple bowls, place them on the center rack with enough space in between. This allows hot air to circulate freely, promoting uniform baking. You might also want to rotate your bowls halfway through for an extra touch of perfection.
Alternative Ingredients for Different Diets
Don't be afraid to get creative! If you’re dairy-free, swap yogurt with a nut-based yogurt or use applesauce for moisture. For gluten-free options, almond flour or oat flour can be excellent substitutes for all-purpose flour. Need a protein boost? Try adding nut butter or chia seeds. Whatever your dietary needs, the flexibility of these Baked Protein Pancake Bowls makes them a perfect fit.
Serving Suggestions for Baked Protein Pancake Bowls
Pairing Ideas for a Complete Meal
To elevate your Baked Protein Pancake Bowls into a satisfying meal, consider these delicious pairings:
- Fresh Fruits: Top with berries, sliced apples, or bananas for a juicy burst of flavor.
- Protein Boost: Add turkey bacon or chicken ham on the side for a savory balance.
- Nut Butters: A drizzle of almond or peanut butter amps up the protein content and adds a creamy texture.
- Maple Syrup: A light drizzle can bring that classic breakfast vibe.
Creative Presentation Tips
Presentation can turn your meal into a visual delight! Try these ideas:
- Layering: Create a parfait look by layering yogurt and fruits.
- Colorful Toppings: Use a variety of toppings like nuts, seeds, and spices for a vibrant look.
- Individual Serving: Serve each Baked Protein Pancake Bowl in cute ramekins for a homey touch.
Experiment with these suggestions to make your breakfast exciting and nutritious! For more tips, check out this article on healthy toppings.
Time Breakdown for Baked Protein Pancake Bowls
Preparation Time
Getting started on your Baked Protein Pancake Bowls is a breeze with just 5 minutes of prep time. Measure out your ingredients, mix them in an oven-safe bowl, and you're nearly ready to bake. Even on a busy morning, this step won't take you long!
Cooking Time
Once you pop your bowl into the oven, set it for 20-22 minutes. This cooking time is perfect for ensuring a fluffy, protein-packed pancake that’s sure to keep you energized throughout the day.
Total Time
In just 25-27 minutes, you can enjoy a delicious breakfast that’s both filling and nutritious. Combining quick prep with simple cooking makes these bowls the ultimate choice for meal prep enthusiasts!
For more meal prep ideas, check out this guide on healthy breakfasts to keep your mornings stress-free.
Nutritional Facts for Baked Protein Pancake Bowls
Calories per Serving
Each serving of these Baked Protein Pancake Bowls packs a satisfying 338 calories. This makes them a hearty choice for breakfast or a post-workout snack, keeping you energized throughout the day without breaking the calorie bank.
Protein Content
With a whopping 25 grams of protein per serving, these pancake bowls are an excellent way to hit your daily protein needs. Whether you’re an athlete or just looking to build muscle, this recipe delivers a protein punch to fuel your body.
Other Key Nutrients
Besides protein, you'll find essential nutrients in each bite:
- Calcium from the yogurt and milk, promoting strong bones
- Iron from the flour, helping transport oxygen in your blood
- Vitamins from any fruit toppings you might add
This nutrient profile makes the Baked Protein Pancake Bowls not only delicious but also a nourishing option for anyone looking to maintain a balanced diet. For more health insights, consider visiting the Nutrition.gov for comprehensive information on nutrient values in foods.
FAQs about Baked Protein Pancake Bowls
Can I make these bowls without eggs?
Absolutely! If you're looking to create Baked Protein Pancake Bowls without eggs, you can substitute one egg with ¼ cup of unsweetened applesauce or a flaxseed meal mixture (1 tablespoon of flaxseed with 2.5 tablespoons of water). These substitutes maintain the moisture and binding properties, ensuring your pancake bowl turns out just as delightful.
How long can I store leftovers?
Leftovers can be stored in an airtight container in the fridge for about 3-5 days. If you want to enjoy your Baked Protein Pancake Bowls for a longer period, consider freezing them. Just pop them in the freezer, and they should be good for up to a month. Perfect for meal prepping!
What's the best way to reheat them?
To reheat, simply pop your Baked Protein Pancake Bowl in the microwave for about 30-60 seconds until warmed through. Alternatively, you can reheat in the oven at 180°C (356°F) for around 10-15 minutes for that freshly-baked taste again. Enjoy your healthy breakfast!
Conclusion on Baked Protein Pancake Bowls
If you're looking for a nutritious, quick breakfast option, Baked Protein Pancake Bowls tick all the boxes! They offer a delightful blend of flavors, are easy to customize, and pack a protein punch. Get creative with toppings and enjoy a meal prep-friendly dish that fuels your day! For more breakfast options, check out related recipes on EatingWell or Bon Appétit.
Baked Protein Pancake Bowls- great for meal prep and no banana needed!
Equipment
- oven safe glass bowl
Ingredients
Main Ingredients
- 1 egg egg
- 50 g yogurt vanilla or unflavoured
- 70 ml milk any milk works, soy or almond recommended
- 35 g flour all purpose
- 25 g protein powder vanilla or white chocolate preferred
- 5 g zero calorie granulated sweetener or sweetener of choice
- 0.5 teaspoon baking powder
Instructions
Preparation Steps
- Preheat oven to 180C or 356F
- Add each ingredient to the oven safe glass bowl and mix well
- If making multiple bowls for meal prep, make sure to add each ingredient separately to each bowl.
- Add toppings of choice, you could use fresh fruit, sugar free chocolate chips, shredded carrots etc or keep it plain
- Bake for 20-22 minutes
- Remove from oven and let cool for 5-10 minutes
- Serve with extra yogurt, peanut butter, maple syrup, butter etc.

Leave a Reply